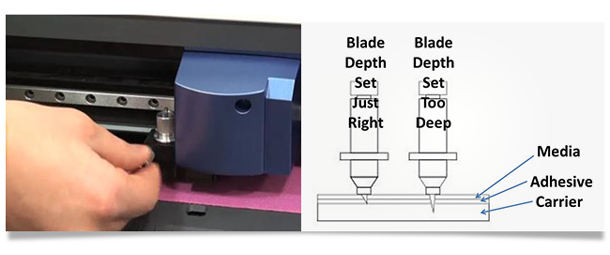
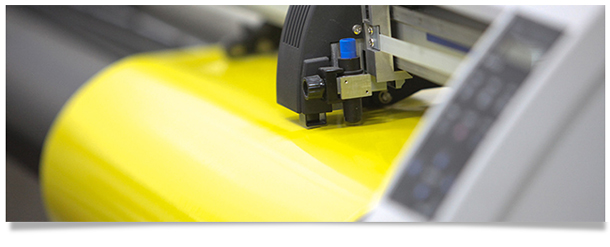
The main key to vinyl is getting a nice clean cut that goes all the way through the vinyl and just barely leaves a mark of the cut on the backing film or carrier. This will be controlled manually by how you set the blade depth and how much force you tell the cutter to use. Before you cut a new style of vinyl and when you are setting up the cutter, take your time to set the blade depth and test different cutting forces.

The best way to set the initial depth of your blade is to turn the adjustment knob until the blade is just barely sticking out of the bottom. Take a small scrap piece of PU vinyl use the blade unit to try to make circle by hand. If it cuts the vinyl try backing off the depth a little more, then try to cut another circle. Ideally, the blade should be set to just enough to cut the vinyl. Doing this will help prolong the life of the cutting blade and give you consistency in your cuts.

Once the blade is set you will need to test the Cut Force whenever you start cutting on a new or
different type of vinyl material. This is done from the cutting software.
Start with a low force around 6 and do a test cut. The test cut should cut a small square with a triangle inside of it. If the cut is good the square should weed off the vinyl, leaving the triangle still attached. If it did not, you will need to increase the force. The next step is to remove the triangle and look at the carrier film; you should just see the shape of a triangle engraved into the surface. If it looks heavily engraved into the film you will need to
back the force down.

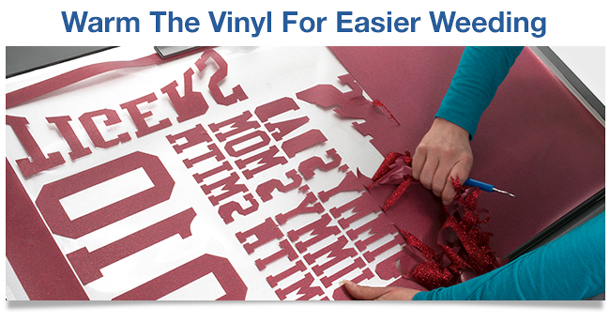
One more trick for today -Do you know how to make weeding a whole lot easier? Turn your heat press on, once warm clamp it down few a few seconds to warm up the base section of the press. Pop up the press and then place you’re freshly cut design onto the press for 10 seconds. Now try weeding it, the vinyl should almost fall off.


